If you’re looking to get the most out of your concrete, then you need to know how to use the concrete slump test to your advantage.
This test is a quick and easy way to determine the workability of your concrete, and it can help you make adjustments to ensure that your final product is up to par.
The concrete slump test is an essential test to determine the workability of concrete. It is widely used in the construction industry to assess the suitability of concrete for a particular purpose.
The test is simple and easy to conduct and gives reliable results.
In this blog post, we’ll cover everything you need to know about the concrete slump test, from what it is and how it works, to tips for getting accurate results and interpreting your findings.
So read on and learn how you can use the concrete slump test to improve your next project!
The Concrete Slump Test: What It Is and How It Can Benefit You.
What Is the Concrete Slump Test
The slump test is an easy way to measure the consistency of freshly mixed concrete.
It is performed by filling a cone-shaped mold with fresh concrete, then lifting the mold and measuring the height of the resulting column of concrete.
The test is quick, simple, and inexpensive, making it a valuable tool for quality control in concrete construction.
A slump test is typically performed before concrete is delivered to a job site to ensure that the concrete is the proper consistency.
The test is also used to monitor the consistency of concrete throughout the day to ensure that the concrete does not become too stiff or too soupy.
How Does the Concrete Slump Test Work
The slump test measures the consistency of freshly mixed concrete.
The test is performed by filling a cone-shaped mold with fresh concrete, then lifting the mold and measuring the height of the resulting column of concrete.
The test is quick, simple, and inexpensive, making it a valuable tool for quality control in concrete construction.
The slump test is just one of many tests used to measure the quality of concrete. Other tests include the compressive strength test, which measures the amount of force required to break a concrete cylinder, and the flexural strength test, which measures the amount of force required to break a concrete beam.
While the slump test is a valuable quality control tool, it is important to remember that it only provides a snapshot of the concrete at a particular moment in time.
The test cannot predict how the concrete will perform over time, so it is important to perform additional testing to ensure the long-term quality of the concrete.
What Are the Benefits of the Concrete Slump Test
The slump test is an easy way to measure the consistency of freshly mixed concrete. It is quick, simple, and inexpensive, making it a valuable tool for quality control in concrete construction.
The test can be used to adjust the water content of the mix as needed to achieve the desired consistency.
The slump test is also a good indicator of the workability of the concrete, which is important for placing and finishing.
A concrete mix that is too wet will be difficult to place and may result in a poor finish. A mix that is too dry will be difficult to consolidate and may result in voids or honeycombing.
The slump test can help ensure that the concrete is of the proper consistency for placement and finishing.
Tips for Ensuring Accurate Concrete Slump Test Results.
Selecting the Right Slump Cone
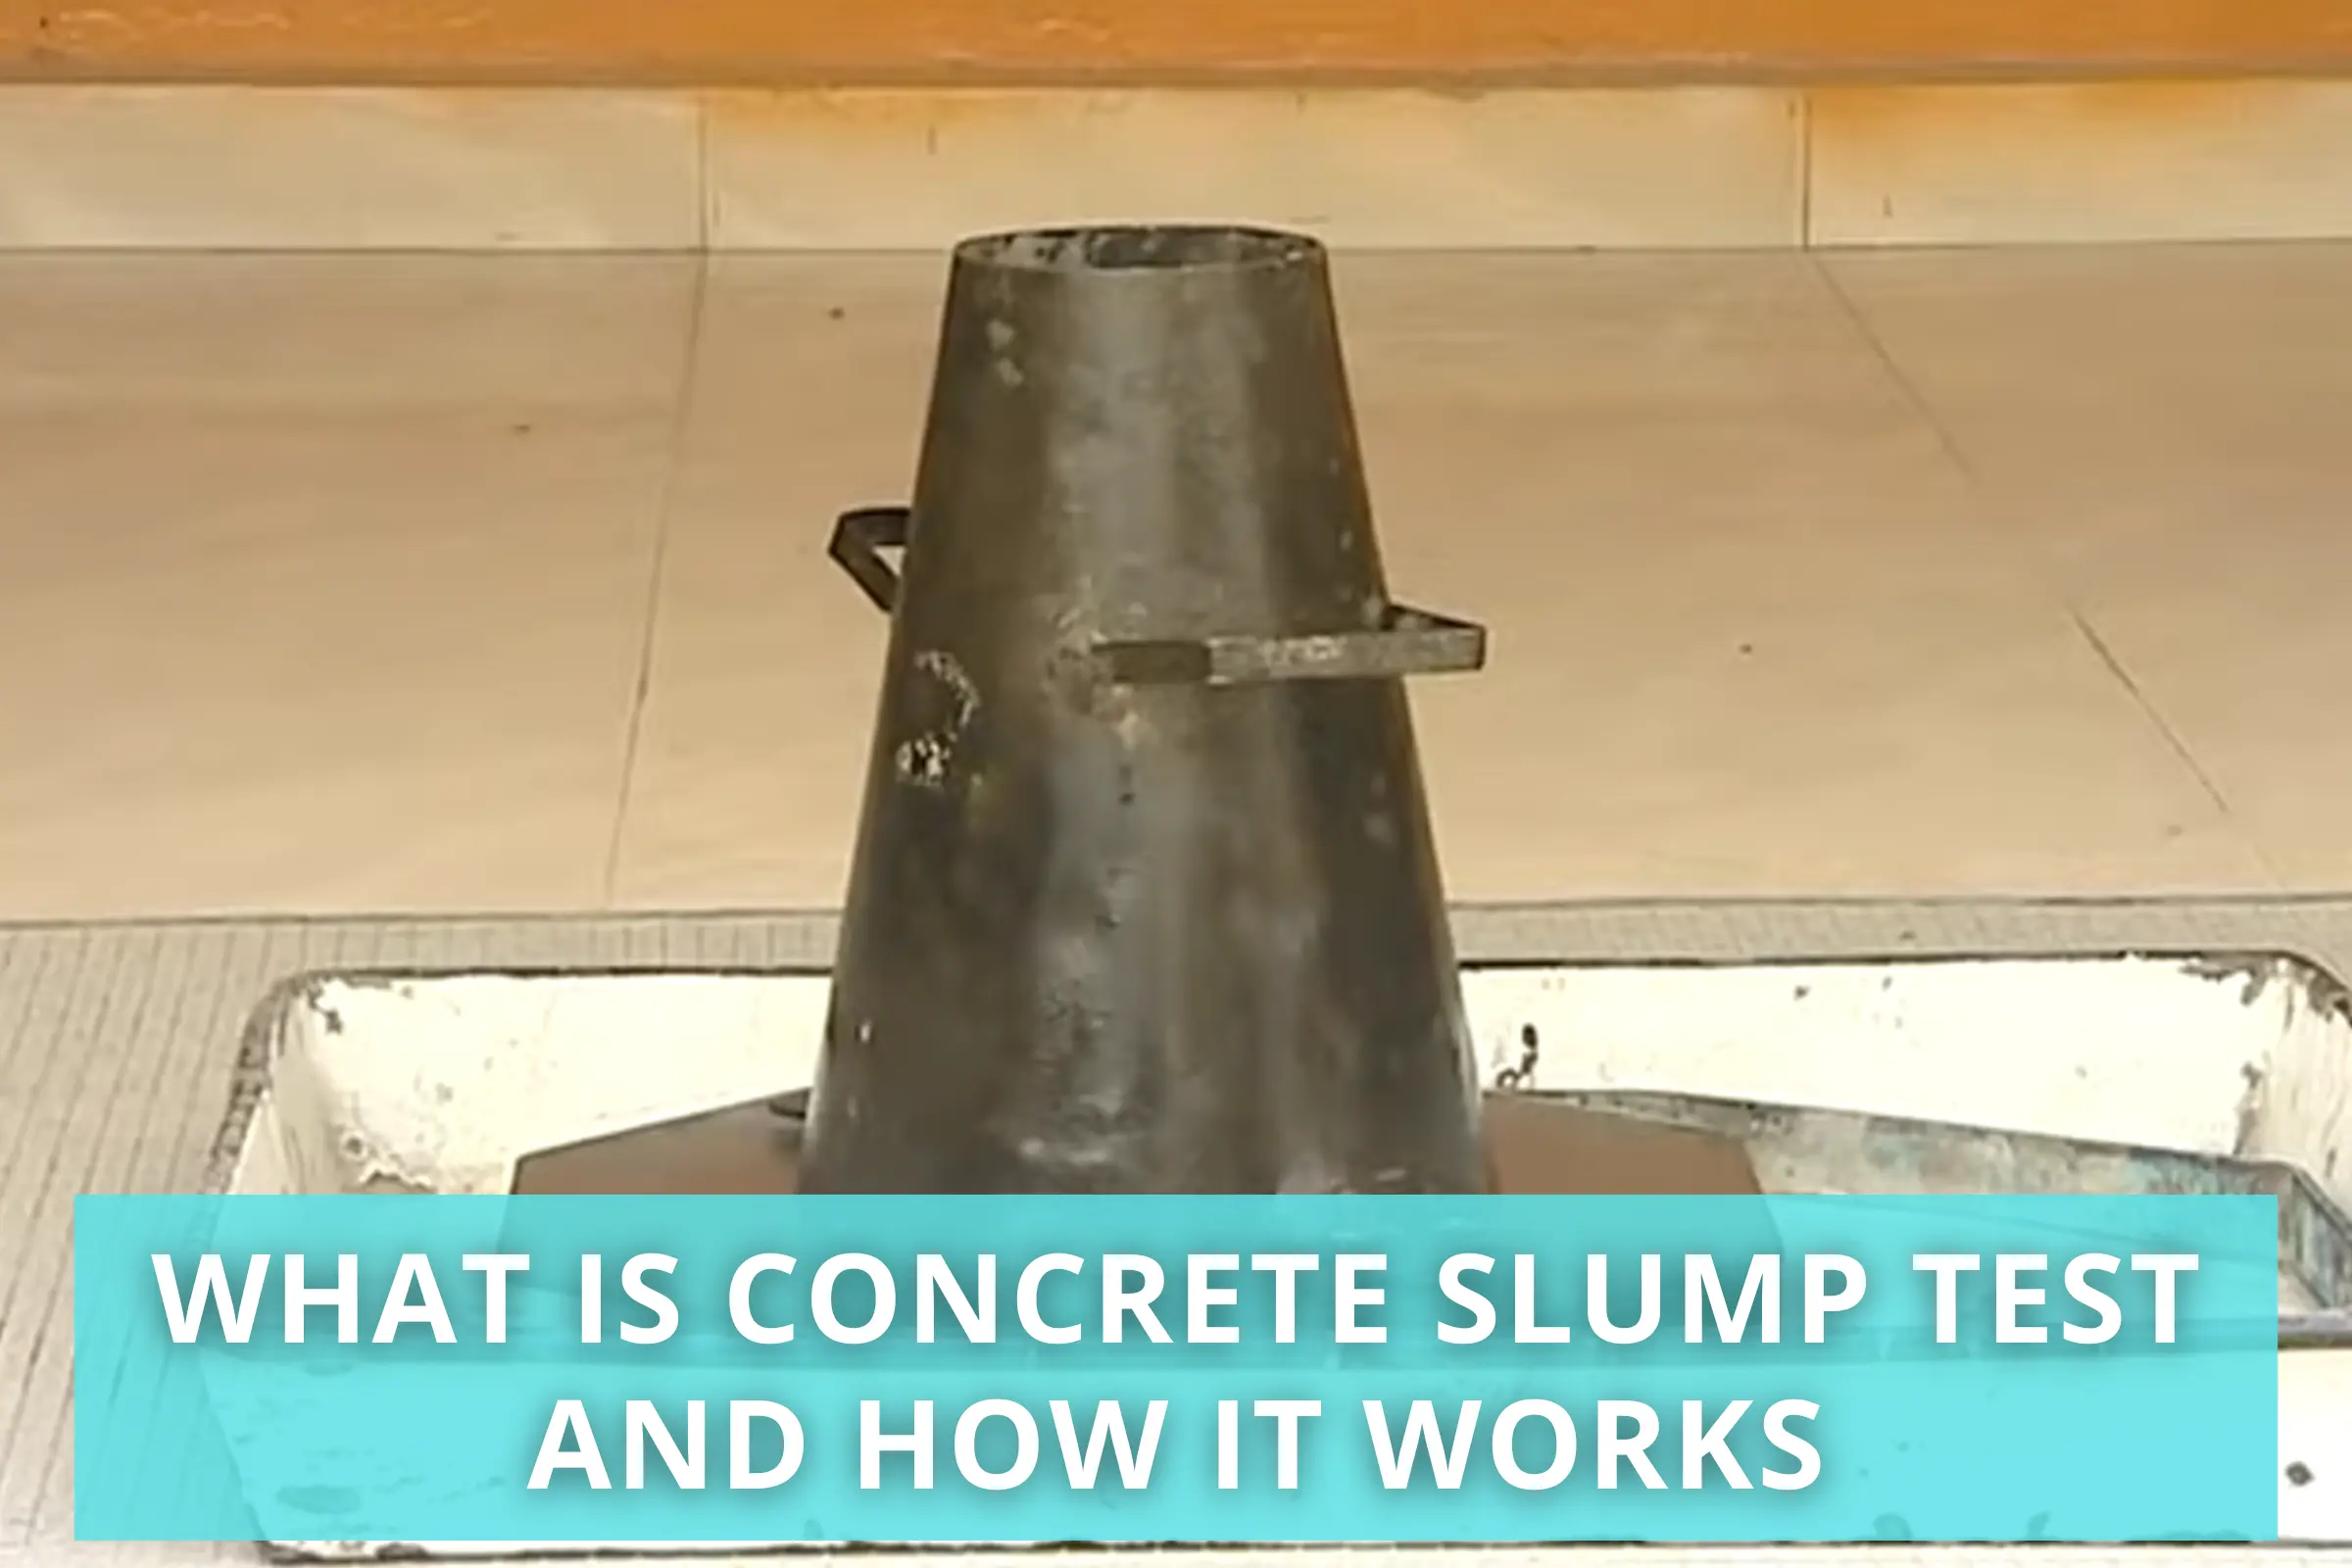
When selecting a slump cone, it is important to choose one that is the right size and shape for your needs. The most common size is the 6-inch (15 cm) diameter cone, but other sizes are available.
According to cementconcrete.org the Apparatus for Slump test is as follows:
Metallic mold in the shape of a frustum of cone having bottom diameter 20 cm (8 in), top diameter 10 cm (4 in) and height 30 cm (12in).
Steel tamping rod having 16 mm (5/8 in) diameter, 0.6 m (2 ft.) long with bullet end.
It is also important to select a cone that has a smooth surface so that the concrete will not stick to it.
Filling the Slump Cone
To fill the slump cone, first wet the inside of the cone with water to prevent the concrete from sticking. Then, fill the cone with concrete, using a shovel or spade.
Be sure to pack the concrete down firmly as you fill the cone so that there are no air pockets in the mix.
Next, level off the top of the cone with a trowel, and then remove the cone from the concrete. Finally, smooth out the surface of the concrete with a trowel or float.
Tamping the Concrete
Once the cone is filled, use a tamper to compact the concrete mix. Start at the top of the cone and work your way down, tamping each layer of concrete until you reach the bottom of the cone.
Once you reach the bottom of the cone, use a trowel to level off the top of the cone. Be sure to hold the trowel at a 45-degree angle and scrape off any excess concrete.
Next, use a float to smooth out the surface of the concrete. Start at one end of the concrete and make long, sweeping motions with the float. Work your way across the entire surface of the concrete until it is smooth.
Making the Slump Test
Once you have your ingredients, you need to make the slump test. To do this, you need to take a small amount of the concrete mix and place it in a cone.
Then, you need to hold the cone upside down and let the mix fall out. If the mix falls out in one piece, then it is too stiff.
If the mix falls out in two pieces, then it is just right. If the mix falls out in three or more pieces, then it is too wet.
The slump test is an important part of making sure the concrete mix is just right. If the mix is too stiff, it will not be able to flow into the mold and will not be as strong. If the mix is too wet, it will be weaker and will not hold up as well.
How to Interpret Your Concrete Slump Test Results.
What Do the Results Mean
The slump test measures the consistency of concrete, which is a critical factor in achieving the desired results for your project.
The test involves filling a mold with fresh concrete, then measuring the distance that the concrete falls when the mold is lifted.
The resulting number is compared to a chart that specifies the range of slump values for different types of concrete mixes.
A low slump (less than 1 inch) indicates that the mix is too dry, while a high slump (more than 6 inches) indicates that the mix is too wet.
If the slump falls outside of this range, it may be necessary to adjust the water content of the mix.
Adjusting the Concrete Mixture
If your concrete mix is not within the ideal range, there are a few ways to adjust it. For example, if your concrete is too dry, you can add more water to the mix.
If it is too wet, you can add more aggregate or sand. It is important to make these adjustments in small increments so that you do not end up with a mixture that is either too dry or too wet.
If you need to add water to your concrete mix, the best way to do it is to use a hose to slowly add water until the desired consistency is reached.
If you need to add more aggregate or sand, you can do so by shoveling it into the mix. Again, it is important to add these materials in small increments so that you do not end up with a mixture that is either too dry or too wet.
Conclusion
The concrete slump test is a valuable tool that can help you determine the quality of your concrete mix. The slump test is an essential tool for any concrete contractor.
By understanding how to properly use the slump test, you can ensure that your concrete is of the highest quality.
By following the tips in this blog post, you can ensure accurate results and use the information to your advantage. Here are a few tips on how to use the slump test to your advantage:
1. Make sure that you have the proper equipment. You will need a slump cone, a rod, and measuring tape.
2. Fill the slump cone with concrete, and then insert the rod into the center of the cone.
3. Slowly lift the cone straight up, and then measure the height of the resulting column of concrete.
4. Compare your results to the slump chart to determine the quality of your concrete.
5. Make adjustments to your mix as necessary to ensure that you produce high-quality concrete.
The slump test is just one of many tests used to determine the quality of concrete. If you’re interested in learning more about concrete testing, be sure to check out our blog post on the topic.
FAQs
Q1. What is the best slump for concrete slab?
The best slump for concrete slab is about 3 to 4 inches. This will ensure that the concrete is properly compacted and will not settle too much.
Q2. What is the meaning of High slump concrete?
High slump concrete is a type of concrete that has a high water to cement ratio. This results in a concrete that is very fluid and easy to work with.
It is often used in applications where the concrete needs to be poured into a mold or where it needs to be placed in a difficult to reach area.
This type of concrete is also used in construction projects where a high degree of flexibility is required, such as in the construction of bridges or roads.
High slump concrete is also known for its high level of compaction, which makes it ideal for applications where a high level of strength is required.
Q3. What is the best slump for concrete?
The best slump for concrete slab is about 3 to 4 inches. This will ensure that the concrete is properly compacted and will not settle too much.
There are a few things to consider when choosing the best slump for concrete slab.
The first is the type of project you are working on. If you are working on a small, interior project, you will not need as much concrete as you would for a large, exterior project.
The second thing to consider is the weather. If it is hot and dry outside, you will need a lower slump so the concrete does not set too quickly. If it is cold and wet, you will need a higher slump so the concrete does not set too slowly.
The third thing to consider is the type of aggregate you are using. If you are using a coarse aggregate, you will need a higher slump so the concrete will flow around the aggregate.
If you are using a fine aggregate, you will need a lower slump so the concrete will not be too runny.


